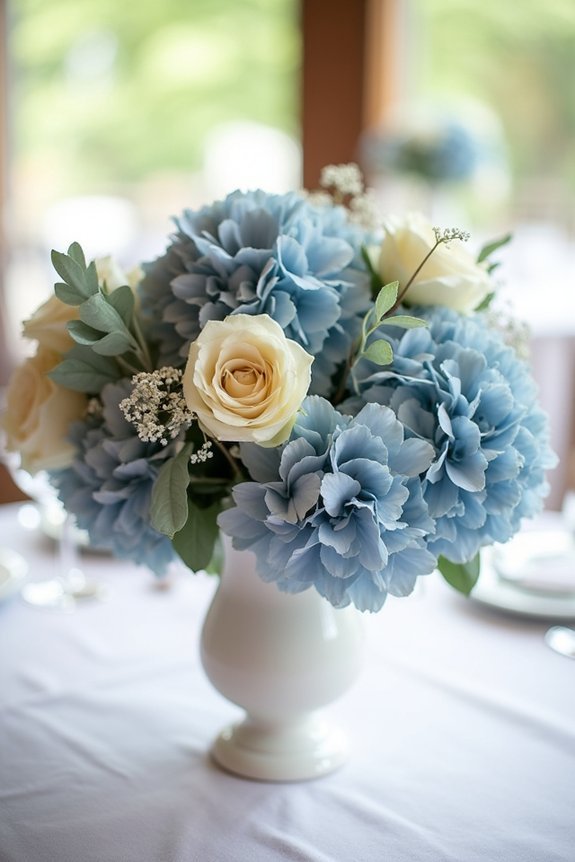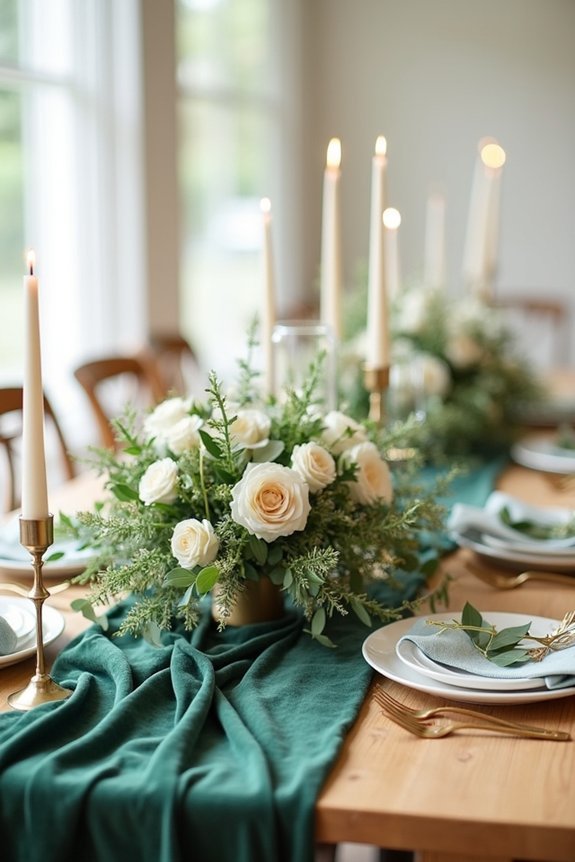
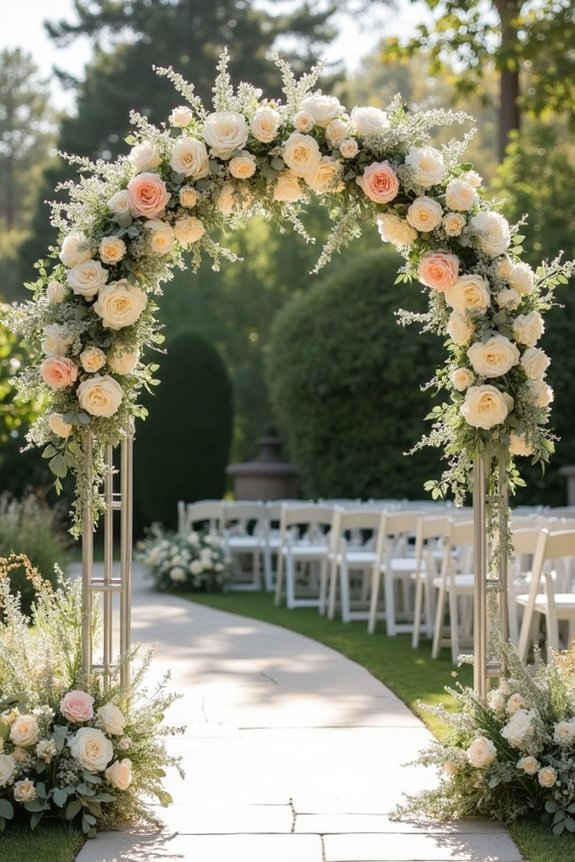
We’ll help you create a stunning silver wedding arch by walking through each essential step. First, choose your silver finish—polished for modern venues, brushed for rustic settings, or antique for vintage charm. Then, select budget-friendly materials like PVC pipes or rental options. Layer in cascading greenery, focal flowers, and fabric draping to bring dimension. Consider mixing metals like gold or copper for visual interest. Finally, plan your 2-3 hour installation timeline and explore romantic, modern, or bohemian design styles that match your vision.
At a Glance
- Choose your silver finish based on venue type: polished for modern spaces, brushed for rustic settings, antique for vintage ceremonies.
- Select budget-friendly materials like spray-painted PVC pipes or rental options to reduce costs while maintaining elegant appearance.
- Start decorating by layering cascading greenery, then add focal flowers in clusters, strategically spacing blooms to showcase the silver frame.
- Install uplighting in warm white or amber tones and weave string lights through fabric draping to enhance elegance and photography.
- Allocate 2-3 hours for installation, allowing time for adjustments and stepping back to evaluate how all elements harmonize together.
Why Silver Works for Your Wedding Arch
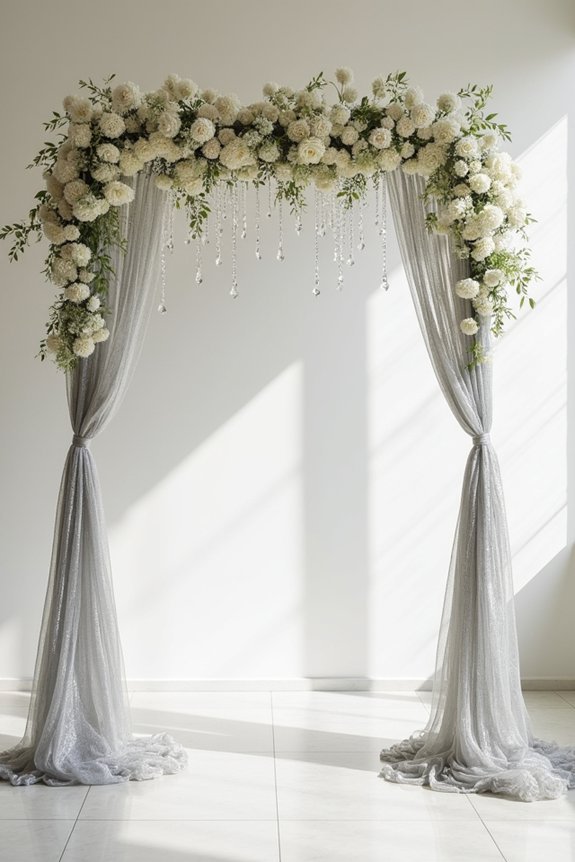
When you’re choosing the perfect frame for your ceremony, silver offers a timeless elegance that’ll make your wedding feel both current and classic.
We love silver because it works with virtually any aesthetic—whether you’re planning a modern minimalist celebration or a romantic garden affair. Silver reflects light beautifully, creating dimension and sparkle without demanding attention.
It pairs seamlessly with other metals, florals, and fabrics, giving you creative freedom. Plus, silver photographs gorgeously, ensuring your ceremony backdrop looks stunning in every shot.
The neutral tone won’t compete with your bouquet or decorations, letting everything shine together harmoniously. Silver arch frames offer enhanced stability that keeps your backdrop secure throughout the ceremony, so you can focus on the moment rather than worrying about your setup.
Match Your Silver Finish to Your Ceremony Space
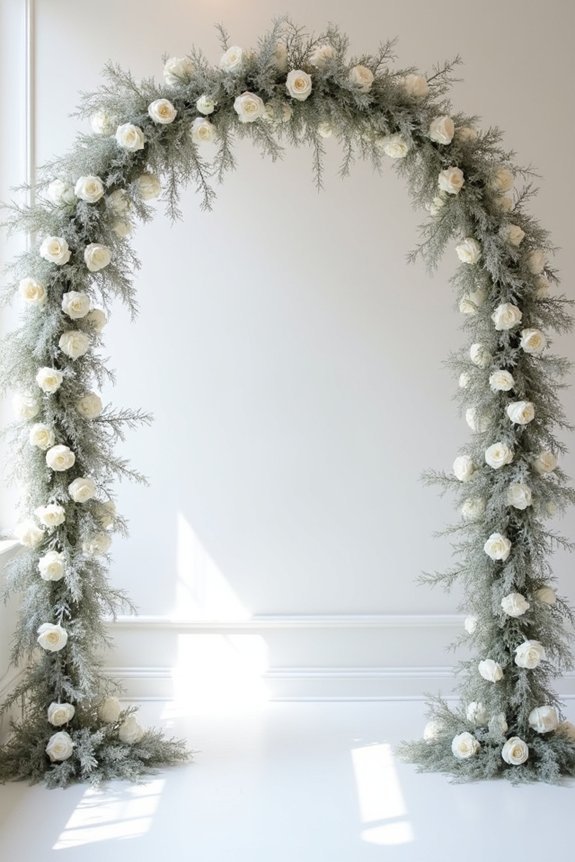
Just as you’d choose a dress that flatters your skin tone, selecting the right silver finish for your arch makes all the difference in how it enhances your space.
A polished, mirror-like silver complements modern venues with clean lines and contemporary décor. Brushed silver works beautifully in rustic settings, creating warmth without harsh reflections. Antique silver suits vintage or garden ceremonies, adding timeless elegance.
Consider your venue’s lighting too—natural sunlight highlights polish, while indoor spaces benefit from brushed finishes that diffuse light softly. Pairing your silver arch with artificial greenery wall backdrops can create additional visual depth and enhance the overall aesthetic impact of your ceremony space.
We recommend visiting your ceremony location at the same time of day as your wedding to evaluate how different finishes look in your specific environment.
Build Your Silver Arch Frame on Budget
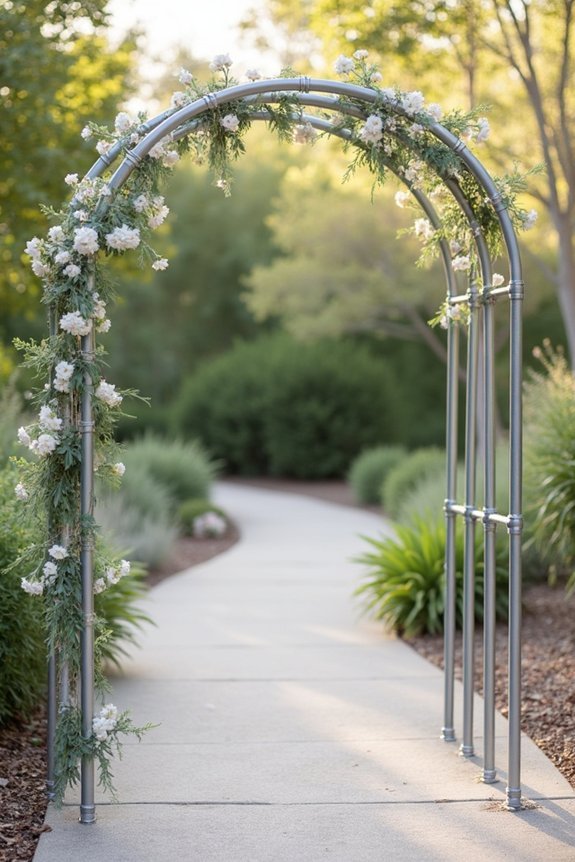
Now that you’ve found the perfect silver finish for your space, let’s talk about making it happen without breaking your budget.
You can create a stunning frame using PVC pipes spray-painted silver—it’s sturdy, affordable, and looks polished. Pair it with fabric draping to add elegance and softness.
Consider renting rather than buying, which cuts costs considerably. Metal garden arbors also work beautifully and often cost less than custom-built options.
Mix budget-friendly elements with one statement piece, like ornate silver candelabras or flowers, to create maximum impact while keeping expenses reasonable. For comprehensive planning guidance, consult the 12-month timeline to ensure your arch design aligns with your overall wedding schedule.
Add Flowers and Greenery to Your Silver Arch
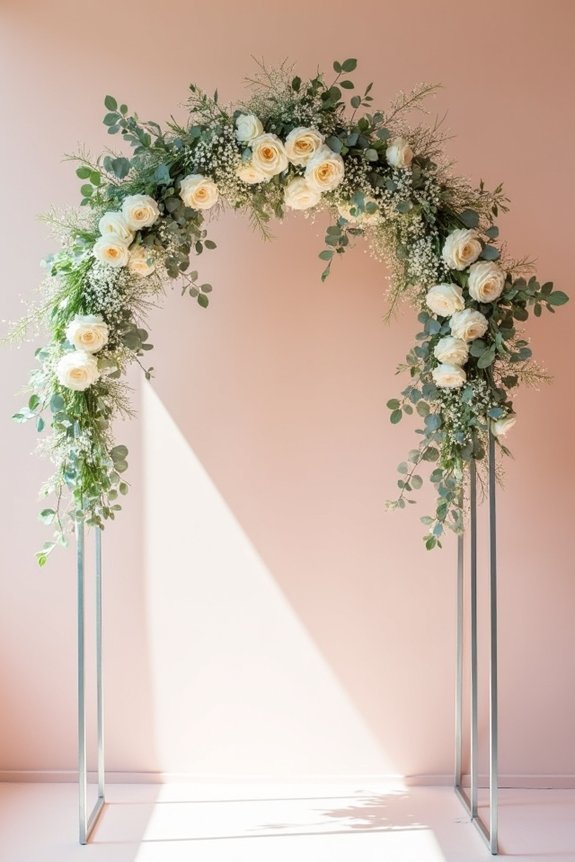
Your silver arch transforms into something truly magical once you layer in florals and greenery—this is where the structure becomes a stunning focal point.
We recommend starting with cascading greenery like eucalyptus or ivy wrapped around your frame’s base and sides. Then, add focal flowers in clusters: roses, peonies, or ranunculus create romantic depth.
Space blooms strategically to avoid overcrowding, letting your silver frame peek through. Consider seasonal options to maximize freshness and budget. Drape delicate vines between flowers for movement and dimension. Complement your arch design with coordinating bridal accessories like silver hair vines to create a cohesive wedding aesthetic.
This layering approach guarantees your arch photographs beautifully while maintaining elegant simplicity.
Add Fabric Draping to Your Silver Arch
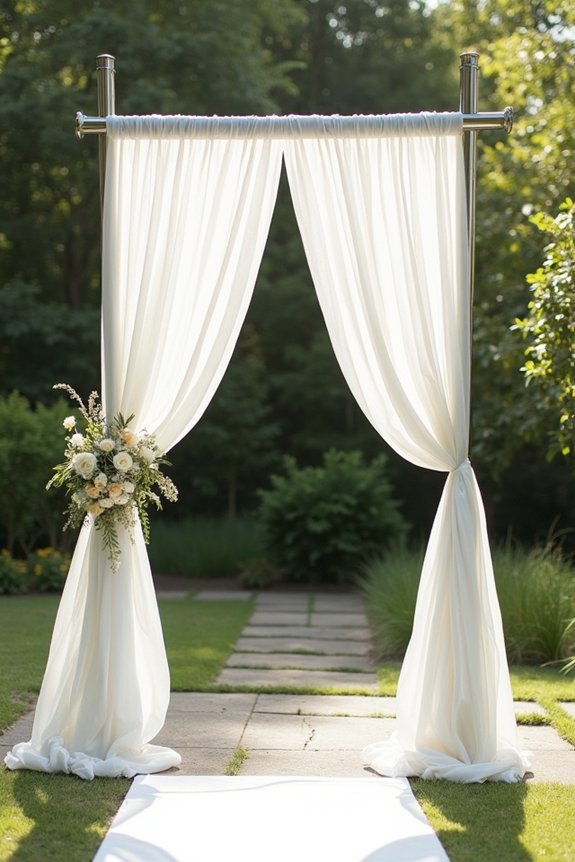
While florals create romance, fabric draping adds movement and dimension that transforms your silver arch into something truly ethereal.
We love how draping elevates the entire backdrop, catching light beautifully in photographs.
Consider these approaches:
- Sheer ivory or blush fabrics flowing from the arch’s top corners create an airy, romantic feel.
- Layered silks in champagne and white add luxe texture and visual depth.
- Asymmetrical draping on one side balances floral arrangements while maintaining modern elegance.
For coordinated elegance, pair your fabric draping with bridal headpieces and crowns that complement your arch’s silver tones and ivory fabrics.
We recommend securing fabric with floral pins or fishing line for seamless results.
The key is letting fabric move naturally, avoiding tight pulls that read stiff.
You’ll achieve magazine-quality sophistication that photographs gorgeously.
Light Your Silver Arch for Ceremony and Photos
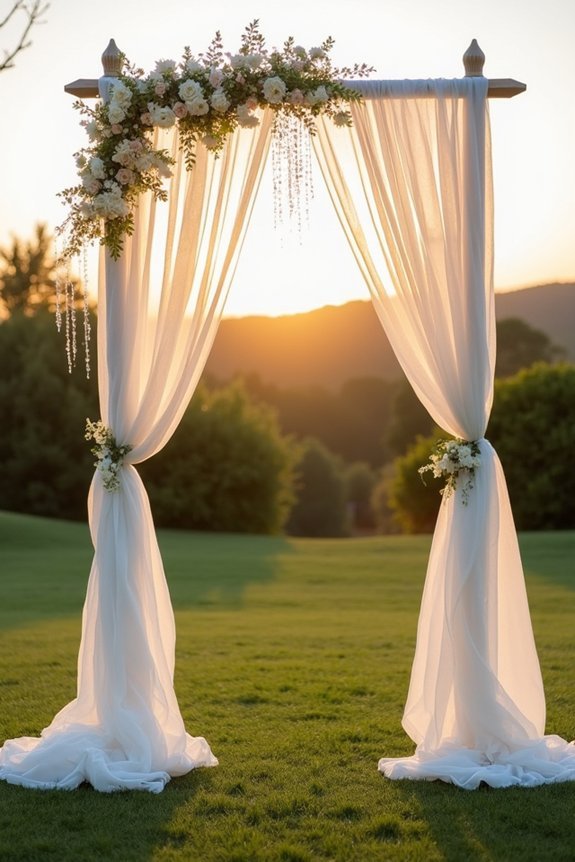
As the sun shifts during your ceremony and into golden hour for photos, lighting transforms your silver arch from a beautiful structure into a breathtaking focal point.
We recommend uplighting in warm white or soft amber to enhance your arch’s elegance without overshadowing your ceremony. String lights woven through fabric draping create intimate, romantic moments.
For photography, position lights to avoid harsh shadows on your face while highlighting the arch’s metallic shimmer. Consider battery-operated options for flexibility, and test everything beforehand.
Thoughtful lighting elevates your entire wedding’s visual impact, ensuring your arch shines beautifully in every moment and photograph.
Pair Silver With Gold, Copper, or Wood Accents
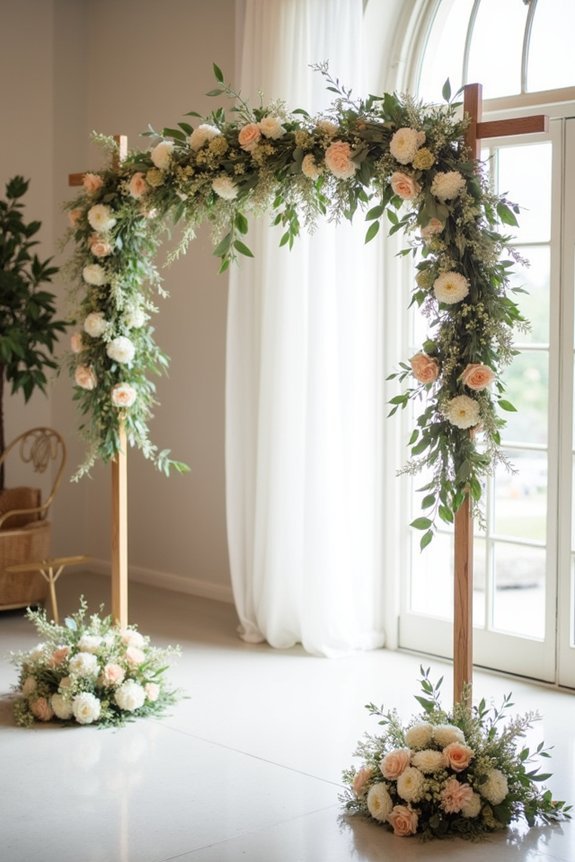
Once your arch is lit to perfection, the metals and materials surrounding it deserve equal attention—and that’s where complementary accents become your secret weapon.
Mixing metals creates visual interest that feels intentional and sophisticated. We recommend exploring these combinations:
- Silver with warm gold details for a timeless, luxurious feel
- Silver paired with copper for modern elegance with vintage warmth
- Silver accented with natural wood elements for organic sophistication
Each pairing tells a different story about your style. Gold brings glamour, copper adds contemporary flair, and wood grounds everything with natural beauty.
Don’t fear mixing metals—when thoughtfully combined, they elevate your arch from simple to stunning.
Rent vs. Build: Silver Arch Options and Costs
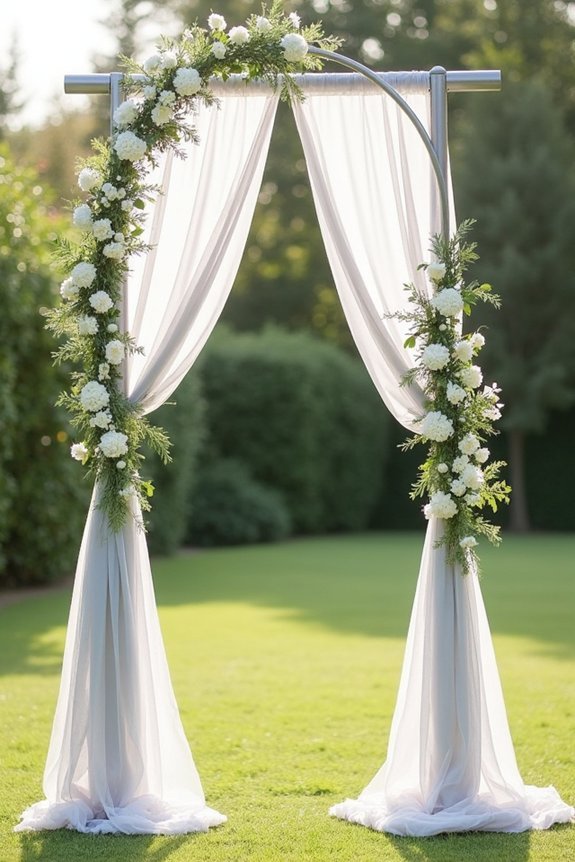
Now that you’ve envisioned your perfect silver arch with complementary metals and lighting, it’s time to tackle the practical question: should you rent or build?
Renting offers convenience and lower upfront costs—typically $300–$800 depending on design complexity. You’ll skip storage and transportation hassles.
Building gives you complete creative control and potentially saves money for larger weddings, though it requires time, materials, and storage space afterward.
We recommend renting if you’re short on time or space, or building if you want a custom design that reflects your exact vision.
Consider your budget, timeline, and available resources when deciding.
Silver Arch Setup and Installation Timeline
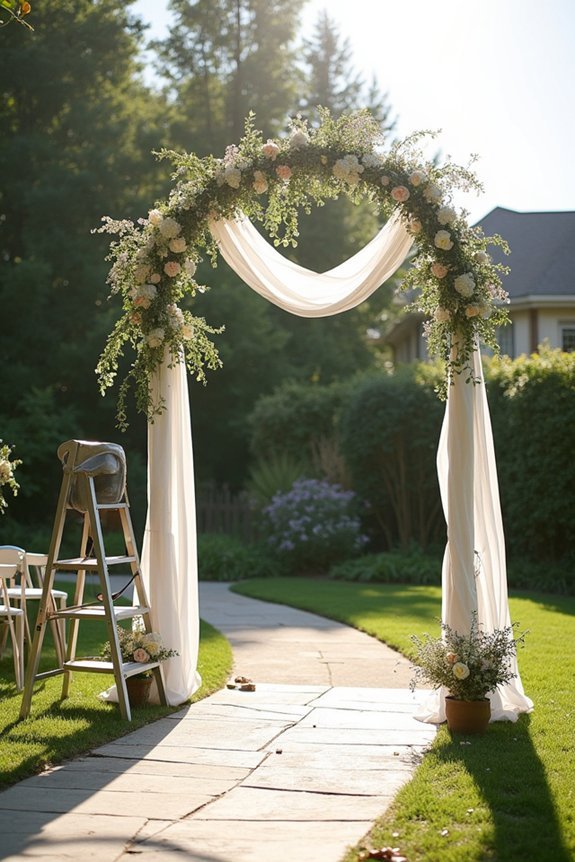
Whether you’ve decided to rent or build your silver arch, understanding the installation timeline helps you avoid last-minute stress and guarantees your ceremony backdrop looks absolutely stunning.
We recommend starting setup the day before your wedding.
Here’s what we suggest:
- Arrive early morning to assess your venue space and ground conditions.
- Position the arch securely, checking stability from all angles and adjusting as needed.
- Add final decorative elements like florals or fabric, stepping back frequently to evaluate the overall look.
Allow 2-3 hours for complete installation.
This timeline gives you breathing room to make adjustments without rushing.
Silver Arch Designs: Romantic, Modern, and Bohemian Inspiration
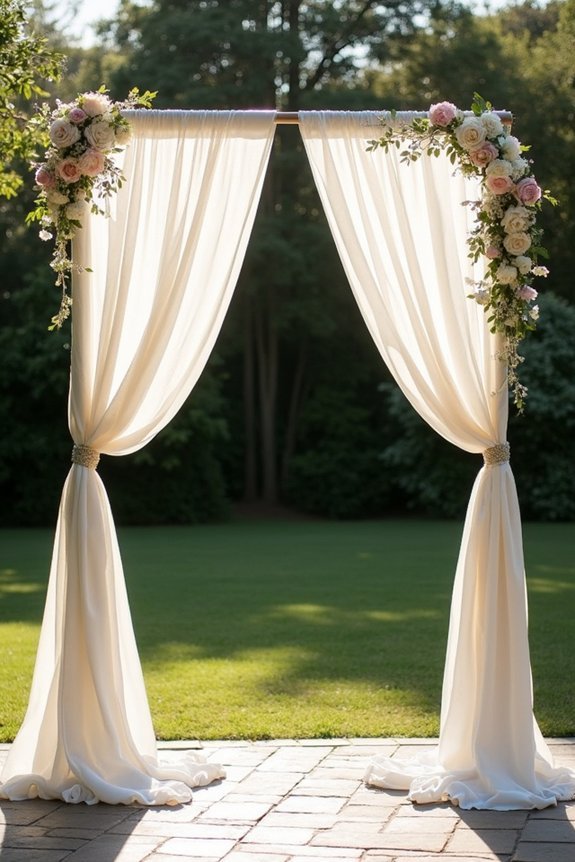
Your silver arch’s design sets the entire tone for your ceremony, and we’re excited to explore three stunning directions that’ll make your wedding feel authentically *you*.
A romantic arch features soft florals, flowing fabrics, and delicate details that whisper elegance.
Modern designs showcase clean lines, geometric shapes, and minimalist décor for a sophisticated look.
Bohemian arches embrace natural textures, abundant greenery, and eclectic elements that feel free-spirited.
Each style reflects different personalities—choose the one that resonates with your vision, then layer in personal touches that celebrate your unique love story.
Frequently Asked Questions
How Do I Protect My Silver Arch From Tarnishing Before and After the Wedding?
We recommend storing your silver arch in acid-free tissue and a breathable cloth bag away from humidity. Before the wedding, polish it, then apply a protective lacquer coating. After, store it the same way in a cool, dry space.
What’s the Best Way to Transport a Silver Arch to My Venue Safely?
Over 40% of wedding décor arrives damaged due to improper transport. We recommend using a padded vehicle, securing your arch with soft straps, and laying it flat to prevent bending or dents.
Can I Use a Silver Arch for an Outdoor Wedding in Rainy Conditions?
We recommend choosing a matte silver finish over polished, as it won’t reflect rain as dramatically. You’ll want sturdy guy wires and weighted bases to prevent tipping in wind. Consider a clear acrylic backdrop for extra protection.
How Far in Advance Should I Order or Build My Silver Wedding Arch?
We recommend ordering your silver arch 3-4 months ahead for custom pieces or 6-8 weeks for ready-made options. This timeline gives you flexibility for adjustments and guarantees your design arrives before your wedding day stress peaks.
What Permits or Venue Restrictions Might Apply to Installing a Silver Arch?
We’ll navigate permit requirements through your venue first—they’re the gatekeepers. Most locations have height restrictions, weight limits, and electrical codes we can’t ignore. Check their policies before we design anything spectacular.