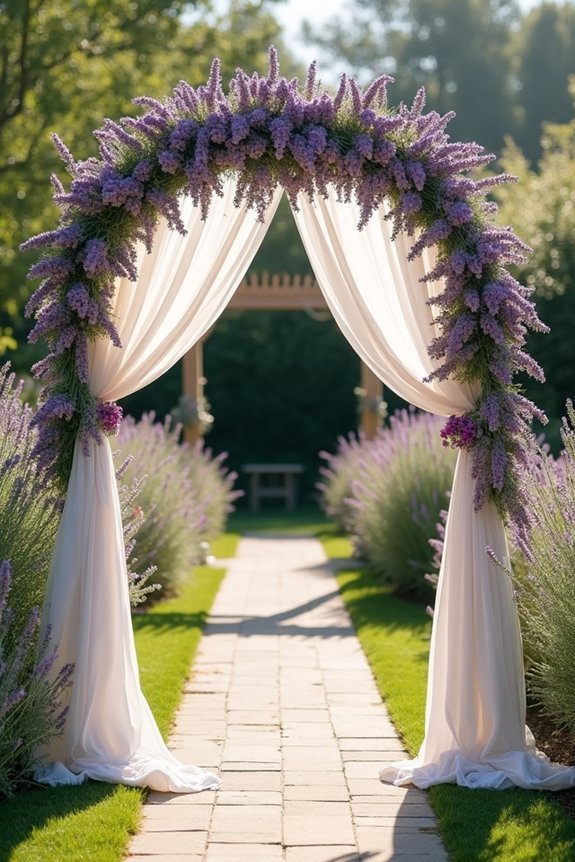
We can create a stunning lavender wedding arch by choosing between fresh and dried blooms based on your ceremony length and venue conditions. English lavender offers classic beauty, while Spanish varieties catch light beautifully in photos. You’ll need floral wire, greenery like eucalyptus, and sturdy bases to build depth and symmetry. DIY arches cost $150–$400 and let you control details, while hiring a florist runs $800–$2,000 but eliminates stress. The specific techniques for positioning, lighting, and protecting your arch during transport will guarantee it stays picture-perfect.
At a Glance
- Choose dried lavender for outdoor weddings to maintain color and shape throughout your ceremony without wilting concerns.
- DIY arches cost $150–$400 and offer creative control, while hiring florists ($800–$2,000) provides polished, stress-free results.
- Layer florals at varying heights with greenery like eucalyptus to create visual depth and fullness from all angles.
- Position your arch during golden hour with soft, diffused lighting to enhance lavender’s purple tones in photographs.
- Secure your arch structure firmly and transport flowers separately in coolers, adding blooms on-site just before guests arrive.
Why Soft Florals Matter: The Romance of Lavender Arches
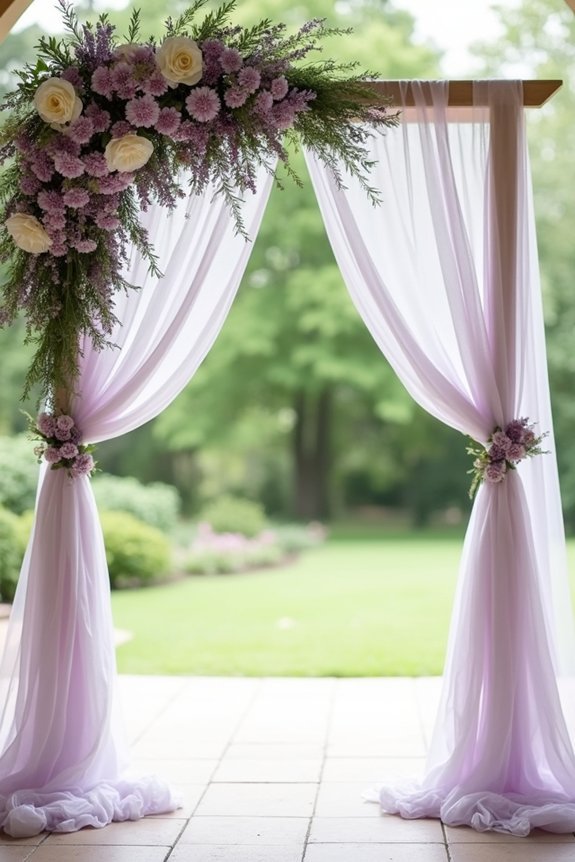
When you’re envisioning your wedding day, the details that surround your ceremony—especially your arch—set the emotional tone for everything that follows.
Lavender brings softness and romance that harder florals simply can’t match. We love how its gentle purple hues create an ethereal atmosphere without feeling over-the-top. The flower’s natural texture adds depth and movement, catching light beautifully in photographs.
Lavender also carries subtle fragrance, engaging your guests’ senses beyond the visual. Whether you choose fresh or dried varieties, soft florals like lavender communicate intentionality and elegance, transforming your ceremony space into something genuinely memorable and personal. For a low-maintenance alternative that maintains this romantic aesthetic year-round, consider artificial flower wall panels which offer the same lush, elegant look without requiring fresh blooms.
Fresh or Dried Lavender? Which Lasts Through Your Ceremony
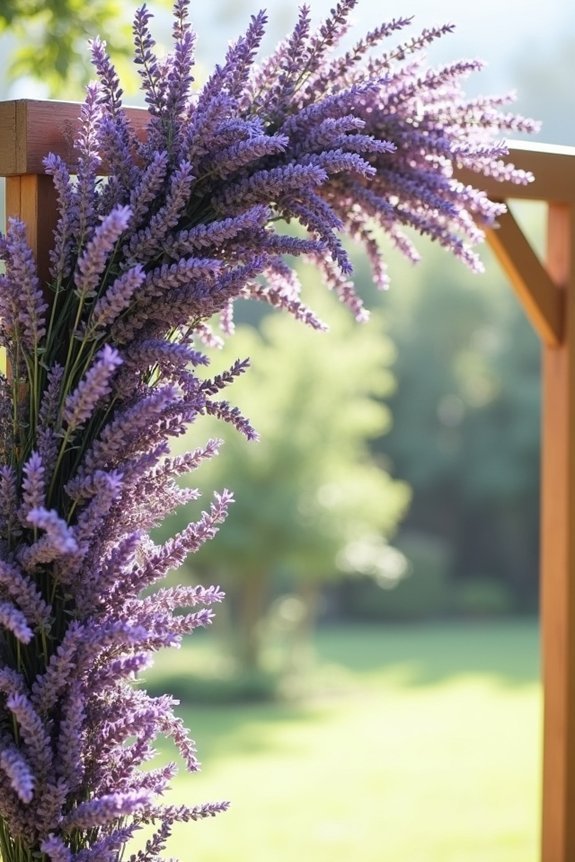
How do you choose between fresh and dried lavender when you’re designing an arch that needs to look flawless from the processional through your final kiss?
Fresh lavender offers vibrant color and fragrance, but wilts quickly in heat or sunlight. Dried lavender maintains its shape beautifully throughout your ceremony, holds color longer, and costs less.
We recommend dried lavender for outdoor weddings or ceremonies lasting over thirty minutes. Fresh works best for indoor events or short ceremonies where you’ll manage humidity carefully.
Consider your venue’s temperature and your timeline when deciding which option serves your vision best. For maximum visual impact, pair your lavender arch with climbing plants that complement the flowers and enhance the pergola’s structural design.
Choosing Lavender Varieties That Photograph Well
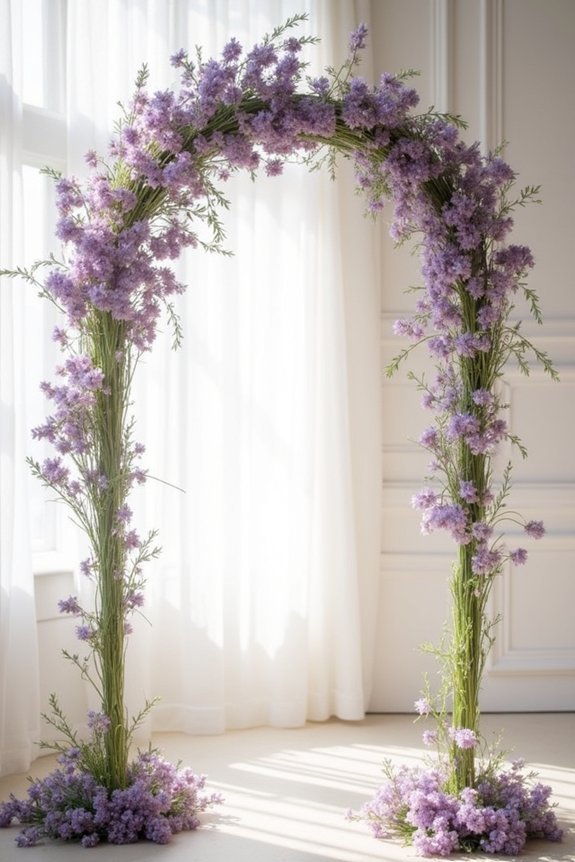
Not all lavender looks equally stunning in wedding photos, and understanding the differences between varieties helps us create an arch that’s as beautiful in your images as it’s in person.
English lavender offers those classic, full purple blooms that photograph with gorgeous depth and texture. Spanish varieties provide lighter, airier flowers that catch light beautifully. Hidcote lavender delivers deep, jewel-toned spikes perfect for dramatic shots.
Consider your venue’s lighting and your photography style when selecting. Test varieties beforehand by photographing them in similar conditions to your wedding location, ensuring your arch translates beautifully across every angle and frame. Using a comprehensive planning checklist can help you track all the details needed to coordinate your arch design with your overall wedding vision and aesthetic.
What You’ll Need: Tools, Materials, and Supplies
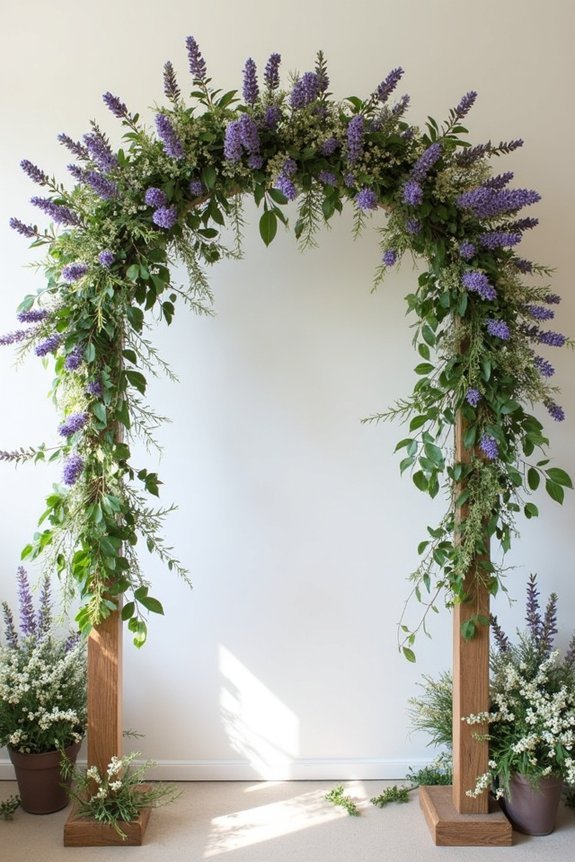
Once you’ve selected your lavender varieties, gathering the right tools and materials makes the building process straightforward and enjoyable.
We’ll need floral wire, pruning shears, and a sturdy base—foam, wood, or metal work beautifully. Grab greenery like eucalyptus or dusty miller to fill gaps and add texture.
You’ll want floral tape, a hot glue gun, and water tubes to keep stems fresh. Don’t forget small decorative elements: ribbons, bells, or fabric draping enhance your arch’s elegance.
Consider adding hair vine accessories like delicate pearl and crystal pieces to incorporate additional sparkle and sophistication into your arch design.
Having everything organized before starting prevents frustration and keeps you focused on creating something truly special.
Budget or Splurge: DIY Versus Hiring a Florist
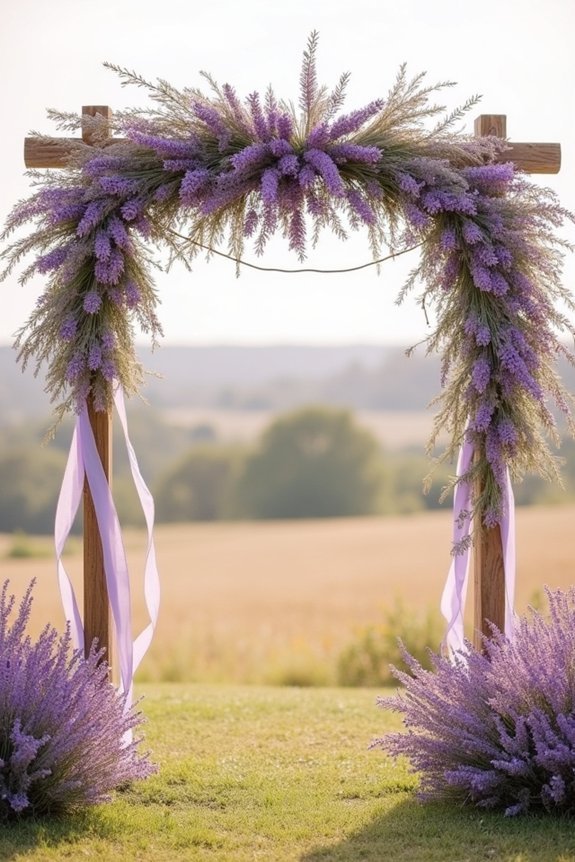
When we’re planning our wedding, the lavender arch decision often comes down to one simple question: can we build it ourselves, or should we bring in a professional?
DIY arches cost considerably less—typically $150–$400—and let’s control every detail. However, they demand time, coordination, and skill.
Hiring a florist costs more, usually $800–$2,000, but eliminates stress and guarantees polished results.
Consider your comfort level, available time, and budget. If you’re detail-oriented and enjoy hands-on projects, DIY works beautifully.
If you’d rather focus on other wedding elements, a professional florist delivers stunning blooms worth the investment. Remember that frame sturdiness and stability are essential considerations regardless of whether you’re constructing the arch yourself or working with a florist to ensure your lavender arrangement is properly supported throughout the ceremony.
Build-It-Yourself: Simple Arch Structures Anyone Can Assemble
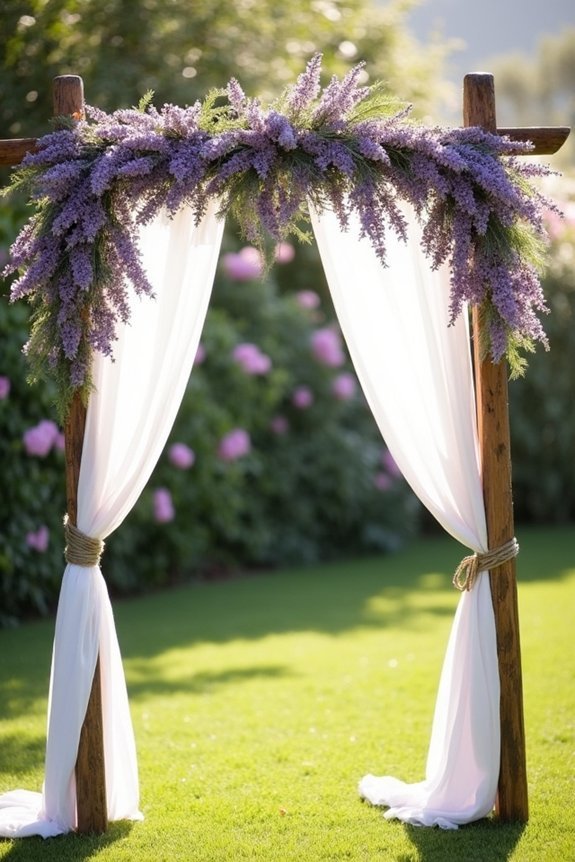
If you’ve decided that a DIY arch is the right choice for your wedding, the good news is that building one doesn’t require carpentry experience or specialized tools.
We can create beautiful structures using straightforward materials like PVC pipes, wooden dowels, or metal tubing from any hardware store. These components connect easily with simple connectors and brackets—no welding needed.
We’ll start with a basic rectangular or curved frame, then add stability with cross-bracing. The result is a sturdy, elegant foundation ready for your lavender arrangements.
You’ll feel proud knowing you’ve built something meaningful yourself.
The Spacing Formula: How Much Lavender Creates the Right Look
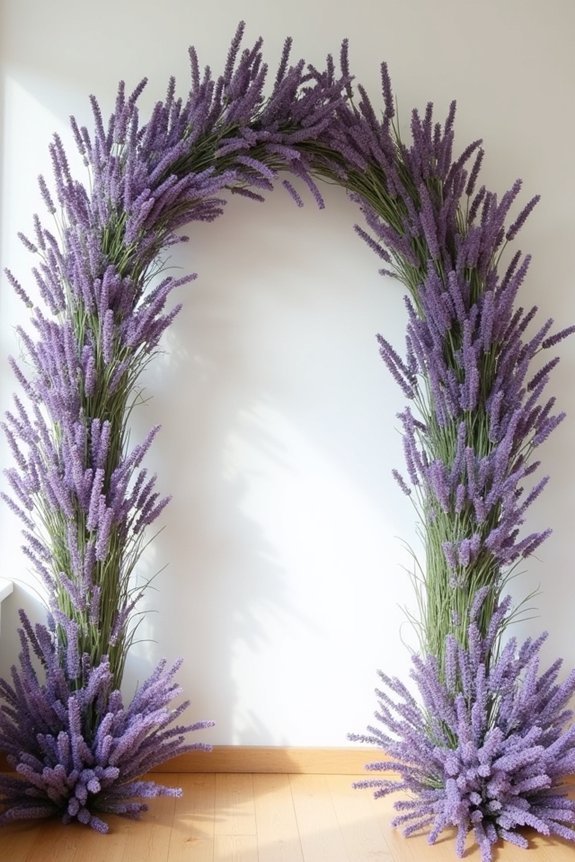
Now that we’ve built your arch structure, we’re ready to tackle the question that makes or breaks a lavender installation: how densely should we pack those stems?
We recommend spacing stems about two to three inches apart for a lush, romantic look. This density creates beautiful coverage without looking sparse or overdone.
Start by inserting larger bundles at the arch’s base and corners, then fill gaps with smaller stems. Step back frequently to assess the balance.
You’re aiming for that magazine-quality fullness where the structure subtly shows through—elegant, not overwhelming. Trust your instincts; you’ll know when it’s just right.
What Flowers Pair Best With Lavender
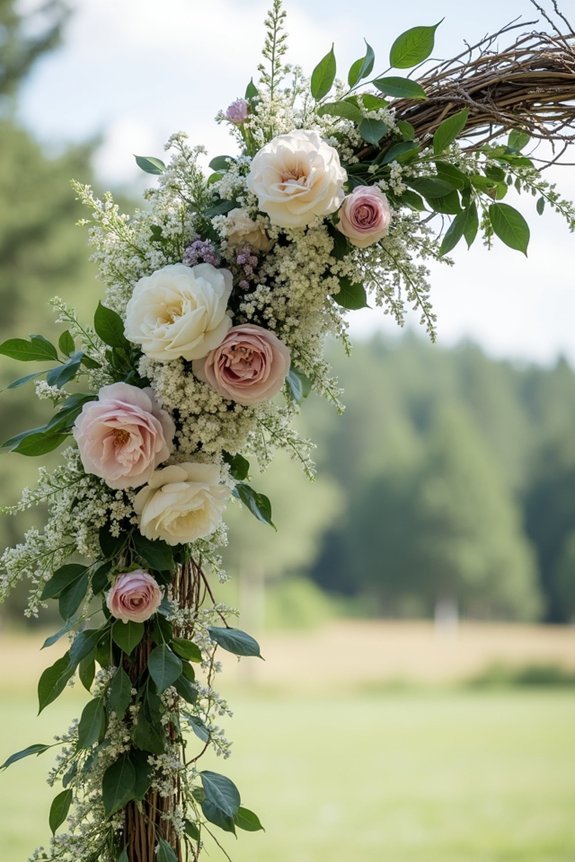
A lavender arch already makes a stunning statement, but the right companion flowers transform it into something truly breathtaking.
We recommend pairing lavender with soft whites like roses or baby’s breath to create elegance and balance. Blush pink adds romantic warmth without competing for attention. For deeper richness, consider dusty rose or mauve tones that echo lavender’s sophistication.
Greenery—eucalyptus, dusty miller, or Italian ruscus—provides essential texture and lets your blooms shine. These combinations create cohesive, magazine-worthy arches that feel intentional rather than crowded, giving you that polished look you’re aiming for.
Securing Blooms So They Stay Put All Day
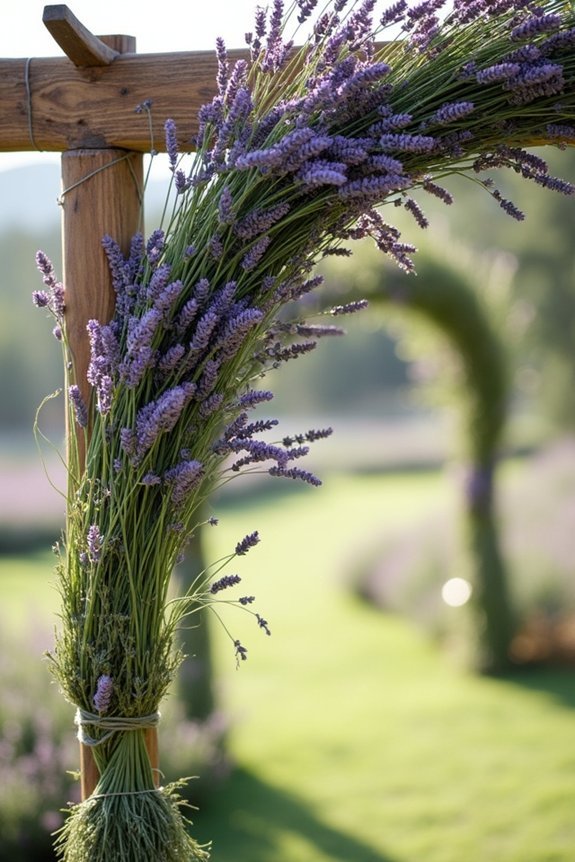
Once you’ve chosen your flowers and greenery, keeping everything secure and fresh throughout your wedding day becomes your next priority.
We recommend using floral foam as your foundation—it holds stems in place while providing constant hydration. Soak the foam thoroughly before arranging your blooms.
Layer your flowers strategically, starting with greenery to create structure, then adding focal flowers. For extra security, wrap stems with floral tape before inserting them.
Mist your arch with water periodically during the day. These techniques guarantee your lavender stays vibrant and perfectly positioned from ceremony start to final photographs.
Lighting Your Arch: Enhancing Color Without Harsh Shadows
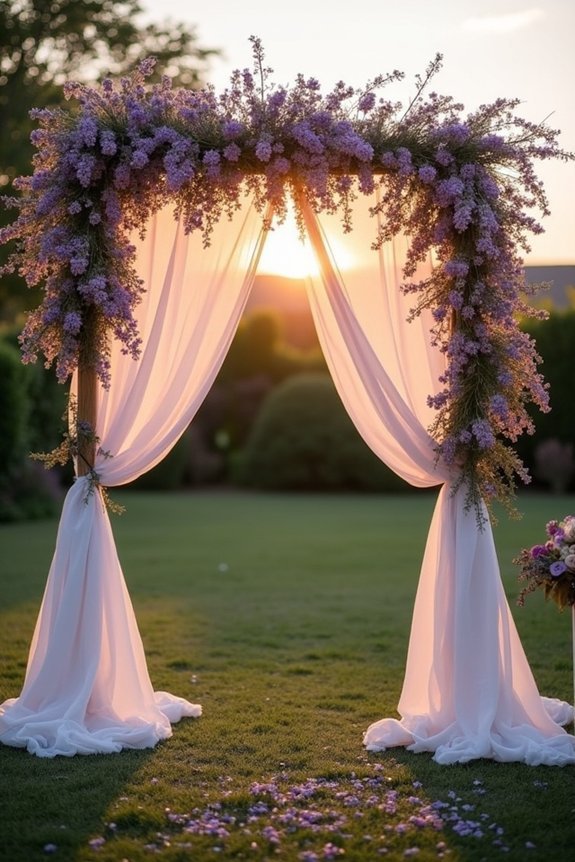
Because lighting dramatically transforms how your lavender arch photographs and appears in person, we’ll want to think strategically about where light hits your blooms.
Soft, diffused light brings out lavender’s natural purple tones beautifully, while harsh direct sunlight can wash out color and create unflattering shadows across your flowers.
Position your arch to catch golden hour light—early morning or late afternoon—for that warm, glowing effect.
If you’re marrying midday, consider sheer fabric panels or umbrellas to filter intense sunlight. Uplighting from below also works wonderfully, casting a gentle glow that enhances your blooms’ rich hues without creating harsh shadows.
Make Your Arch Picture-Perfect From Every Angle
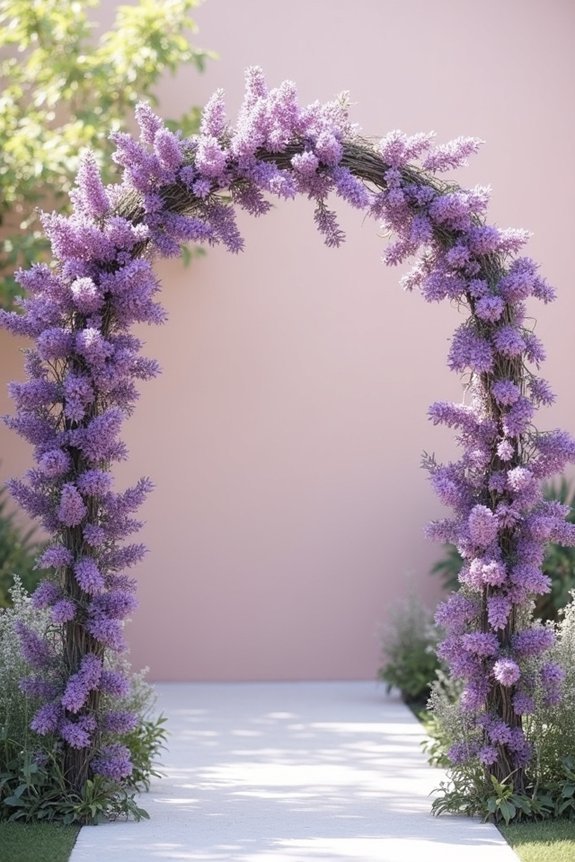
Now that you’ve got your lighting dialed in, it’s time to think about how your arch will look from every direction—because your guests will be viewing it from the ceremony seating, your photographer will be capturing it from multiple angles, and you’ll want it to be stunning whether someone’s looking at it head-on or from the side.
Here’s how we create those gorgeous 360-degree results:
- Build depth with layered florals so the arch feels full from all perspectives.
- Place focal flowers strategically at varying heights to draw eyes upward.
- Create symmetry intentionally for balanced, polished views from every seat.
- Test sightlines beforehand by walking around your setup multiple times.
- Check your photographer’s angles to verify blooms frame the couple beautifully.
How Climate and Space Change Your Design
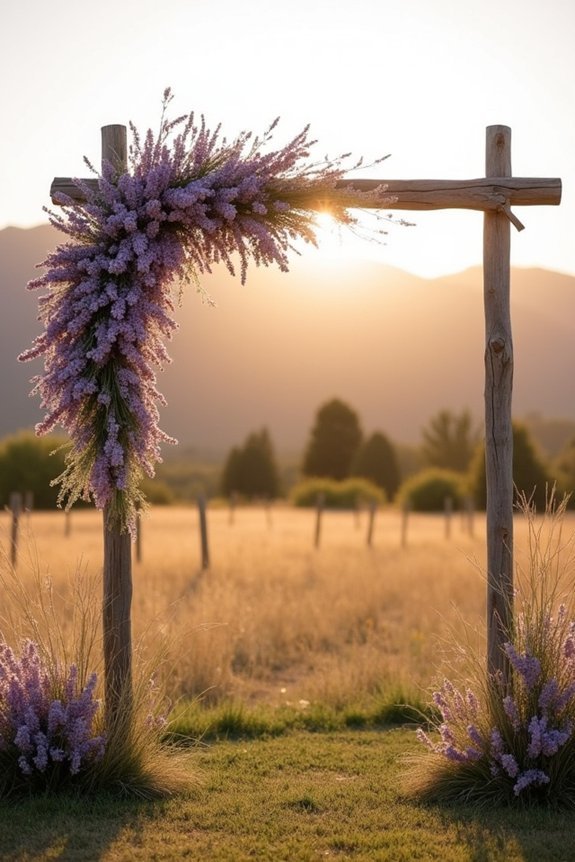
Your wedding arch doesn’t exist in a vacuum—the environment around it will shape every decision you make, from flower selection to structural support to overall aesthetic.
We need to take into account climate first. Hot, humid regions require hardy lavender varieties and sturdy frameworks that won’t wilt, while cooler areas allow more delicate arrangements.
Space matters equally. A sprawling outdoor garden needs a grand arch with commanding proportions, whereas an intimate backyard calls for something refined and intimate.
Wind exposure demands secure anchoring systems, and shade coverage affects how your lavender photographs throughout the day. These practical considerations guarantee your arch stays beautiful and stable.
One Week Out: Your Pre-Wedding Arch Checklist
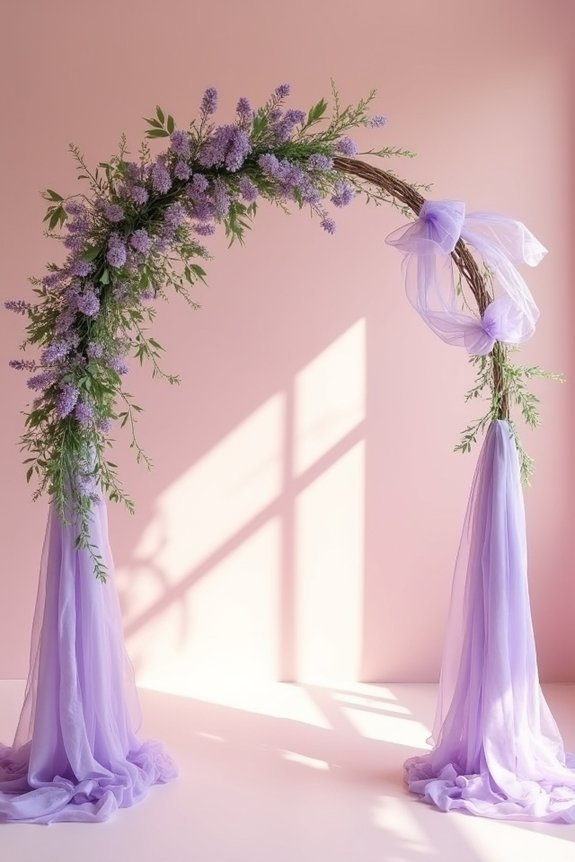
The week before your wedding is when all those months of planning crystallize into action, and your lavender arch moves from inspiration to reality.
We’re in the final stretch, so let’s lock down the details that’ll make your arch shine on the big day.
- Check all floral deliveries and confirm arrival times
- Test your arch structure for stability and sturdiness
- Review weather forecasts and prepare backup plans
- Gather all tools, supplies, and protective equipment
- Walk through your setup timeline with your team
We’ve got this—your arch will be absolutely stunning.
Transporting Your Arch Safely on Wedding Day
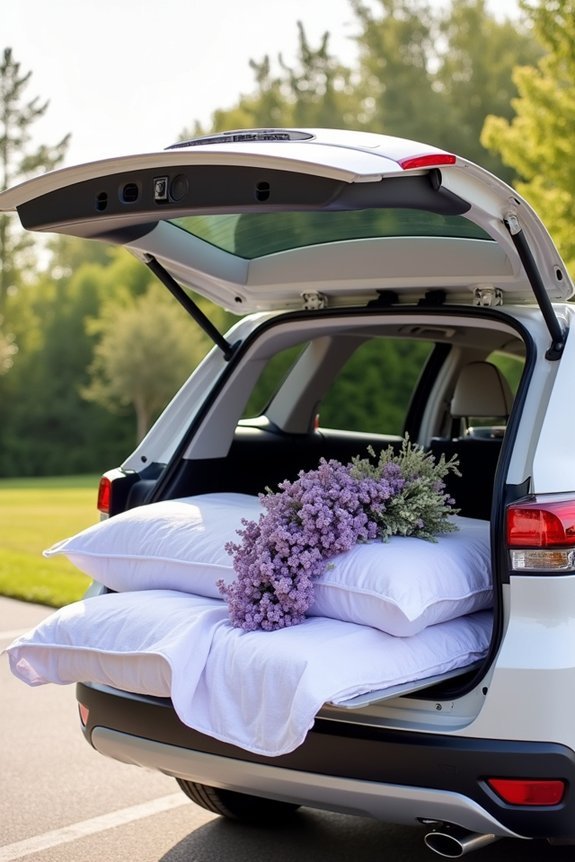
Once you’ve checked every detail on your pre-wedding checklist, the next crucial step is getting that gorgeous arch from your workshop (or florist’s studio) to your venue in perfect condition.
We recommend securing your arch in a vehicle with blankets or padding between it and the walls. If your arch is tall, lay it flat rather than upright to prevent tipping.
Transport flowers separately in a cooler, then add them on-site just before guests arrive. Have a designated person oversee this process, ensuring nothing shifts during the drive.
This careful planning protects your beautiful creation’s arrival.
Frequently Asked Questions
Can I Use Artificial Lavender if Fresh Flowers Don’t Work With My Timeline?
Absolutely, we’d recommend high-quality artificial lavender for your arch—it’ll photograph beautifully and won’t wilt. Pair it with fresh greenery or filler flowers to keep that elegant, natural feel without timeline stress.
How Far in Advance Should I Start Gathering Materials for My DIY Arch?
We’d recommend starting 6-8 weeks before your wedding—studies show DIY projects take 40% longer than expected. This timeline lets us gather materials, test designs, and make adjustments without last-minute stress.
Will My Lavender Arch Work Outdoors in Humid or Rainy Wedding Day Conditions?
We recommend treating your lavender arch with a clear floral sealant spray before your wedding day. This protects against moisture damage. Fresh lavender holds up better than dried varieties in humid conditions, though you’ll want a backup plan for heavy rain.
How Do I Refresh Wilted Lavender Stems the Morning of My Wedding?
We’ll refresh wilted lavender by misting stems lightly with water and placing them in a cool location for 30 minutes. You can also trim a quarter-inch from the bottom and stand them in fresh water overnight beforehand.
What’s the Best Way to Store My Completed Arch Overnight Before the Ceremony?
We’ll let you in on a secret: most arches actually benefit from overnight storage in a cool space. Store yours in a climate-controlled garage or basement, keeping stems hydrated and away from direct sunlight and heat sources.