We recommend three nighttime photo booth lighting setups that’ll transform your event. Uplighting creates dramatic elegance by painting walls and architectural features with warm or cool tones. Key-and-fill lighting uses two strategically positioned lights to flatter every guest’s skin tone and eliminate unflattering shadows. Backlit glow separates subjects from backgrounds, adding dimensional depth with beautiful halos around your guests. Each technique serves a unique purpose, and combining them creates truly professional results you’ll treasure forever.
At a Glance
- Key-and-fill lighting uses a primary light at 45 degrees and softer fill light opposite for flattering, magazine-worthy nighttime photos.
- Uplighting painted from ground up transforms venue atmosphere with warm amber tones for romance or cool blues for sophistication.
- Backlit glow positioning creates dimensional separation between subjects and background with beautiful halos for memorable nighttime moments.
- Galvanized steel frame structures provide stable mounting for multiple lighting setups ensuring consistent, professional-quality results throughout evening.
- Balanced front fill light prevents silhouettes while backlighting creates rim-lit effects that enhance photo booth visuals in darkness.
Uplighting: Bold Drama and Elegance
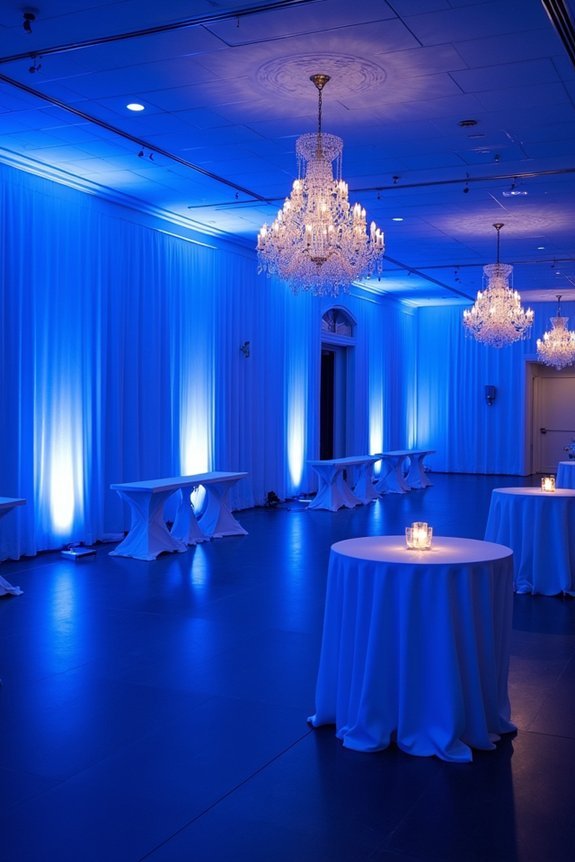
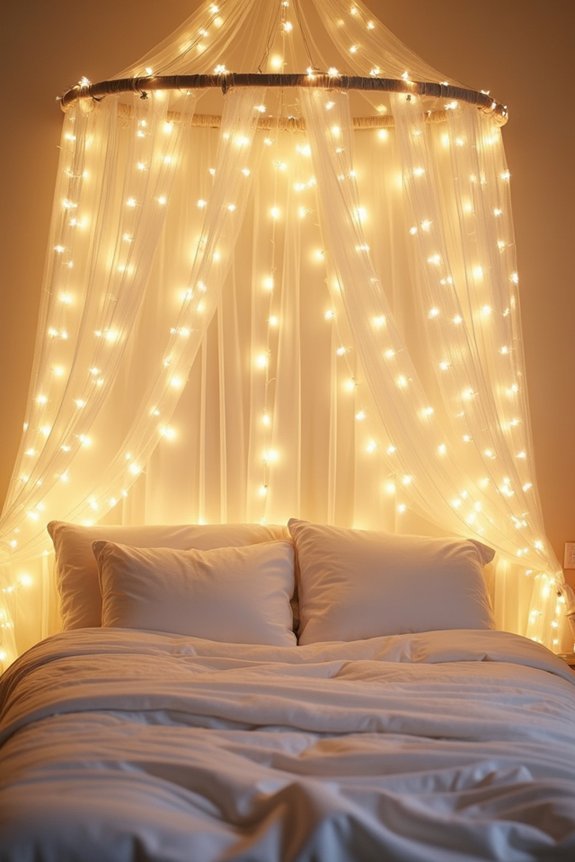
When we think about creating an unforgettable evening atmosphere, uplighting is one of the most transformative tools we can use—it’s fundamentally painting your venue with light from the ground up.
Strategic uplighting frames architectural features, creates depth, and sets your wedding’s emotional tone. We recommend placing lights along walls, behind florals, or around pillars to build drama without overwhelming guests.
Warm amber tones feel romantic and intimate, while cool blues evoke sophistication.
Consider pairing your uplighting with a sturdy galvanized steel frame gazebo structure to ensure your lighting setup remains stable and secure throughout the evening.
The beauty of uplighting? It works beautifully alongside your photo booth, creating a cohesive, magazine-quality backdrop that’ll make every guest’s photo absolutely stunning.
Key-and-Fill Lighting: Flattering Light for Every Guest
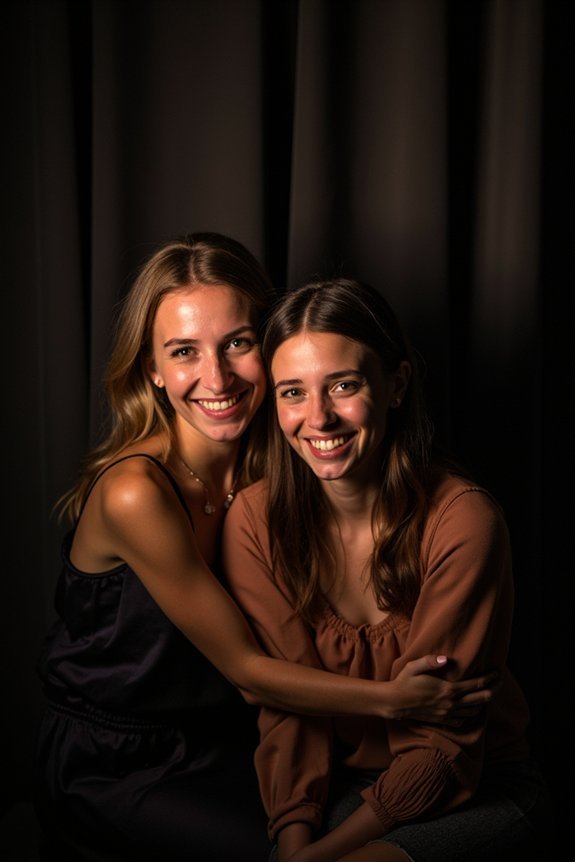
While uplighting builds that dramatic, atmospheric backdrop, we need something different to make certain your guests look their absolute best in every photo—and that’s where key-and-fill lighting comes in.
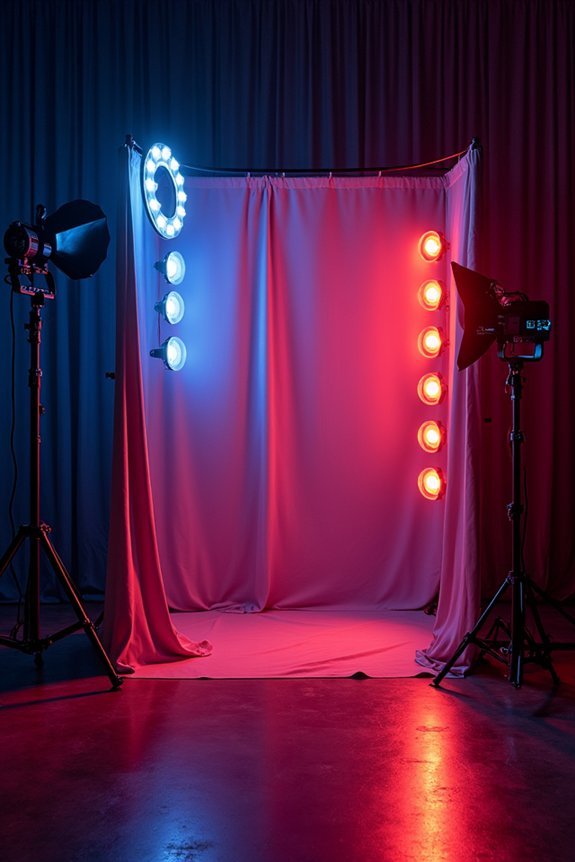
This classic technique uses two lights: a primary “key” light that highlights your guest’s face, and a softer “fill” light that gently reduces shadows.
The result? Flattering, glowing skin tones and clear facial features everyone will love.
Position your key light at a forty-five-degree angle, then place your fill light opposite it at a lower intensity. This setup guarantees every photo feels polished and magazine-worthy. Similar to how high-quality materials enhance bridal accessories for all-day wear, investing in quality lighting equipment ensures your photo booth maintains consistent, flattering results throughout the evening.
Backlit Glow: Depth and Dimension
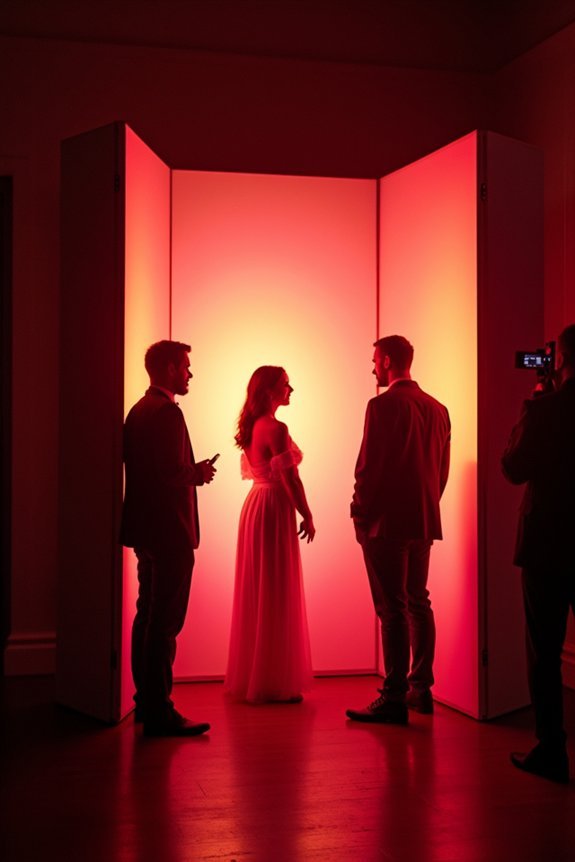
If we want our photo booth photos to truly pop off the screen, we’ve got to think in three dimensions—and that’s exactly what backlighting does. This technique creates stunning separation between your guests and the background, adding depth that makes images feel alive and professional.
Here’s how we achieve this magic:
- Position a light source behind your subjects, facing toward the camera
- Adjust intensity so it rim-lights hair and shoulders without overwhelming faces
- Balance with front fill light to prevent silhouettes
The result? Dimensional photos with gorgeous halos that transform ordinary moments into magazine-worthy memories worth treasuring forever. When combined with lightweight props on smooth sticks, backlighting ensures that every element of your photo booth setup—from the guests to the accessories they’re holding—appears crisp and visually striking.
Frequently Asked Questions
How Much Does Professional Photo Booth Lighting Equipment Rental Typically Cost?
We’ve found professional photo booth lighting rentals typically run $300–$800 depending on equipment quality and your event’s duration. Basic setups cost less, while premium LED systems with backdrops command higher prices. Always get quotes from multiple vendors.
Can I Use My Smartphone Camera Effectively With Nighttime Photo Booth Lighting?
Like planting seeds in prepared soil, your smartphone thrives when we’ve laid proper groundwork. Yes, you can capture stunning nighttime booth photos—pair your phone’s camera with professional lighting, use portrait mode, and we’ll handle the rest beautifully.
What’s the Best Way to Hide or Disguise Lighting Equipment in the Setup?
We hide lighting rigs behind sheer fabric backdrops, tuck softboxes into corners, and use black draping to mask stands. You can also mount lights overhead or embed them within your backdrop structure for seamless, elegant results.
How Do I Prevent Harsh Shadows on Guests’ Faces During Nighttime Photo Sessions?
We’ll soften harsh shadows by positioning fill lights at 45-degree angles and using diffusion panels or frosted gels. Bouncing light off white surfaces also creates flattering, shadow-free illumination that’s incredibly forgiving on guests’ skin.
What’s the Difference Between LED and Traditional Lighting for Wedding Photo Booths?
We’ve found LED lights practically eliminate harsh shadows—they’re cooler, more energy-efficient, and won’t overheat your guests. Traditional lighting generates more heat and creates those unflattering shadows we discussed, making LEDs our go-to choice.